Ever wished your plants could water themselves while you focus on everything else? That’s exactly what a self-watering planter does. It’s a smart, low-maintenance gardening solution that keeps your plants consistently hydrated without daily effort. Whether you’re a busy professional, a beginner gardener, or someone who simply forgets to water on time, learning how to make a self watering planter can completely change the way you care for plants.
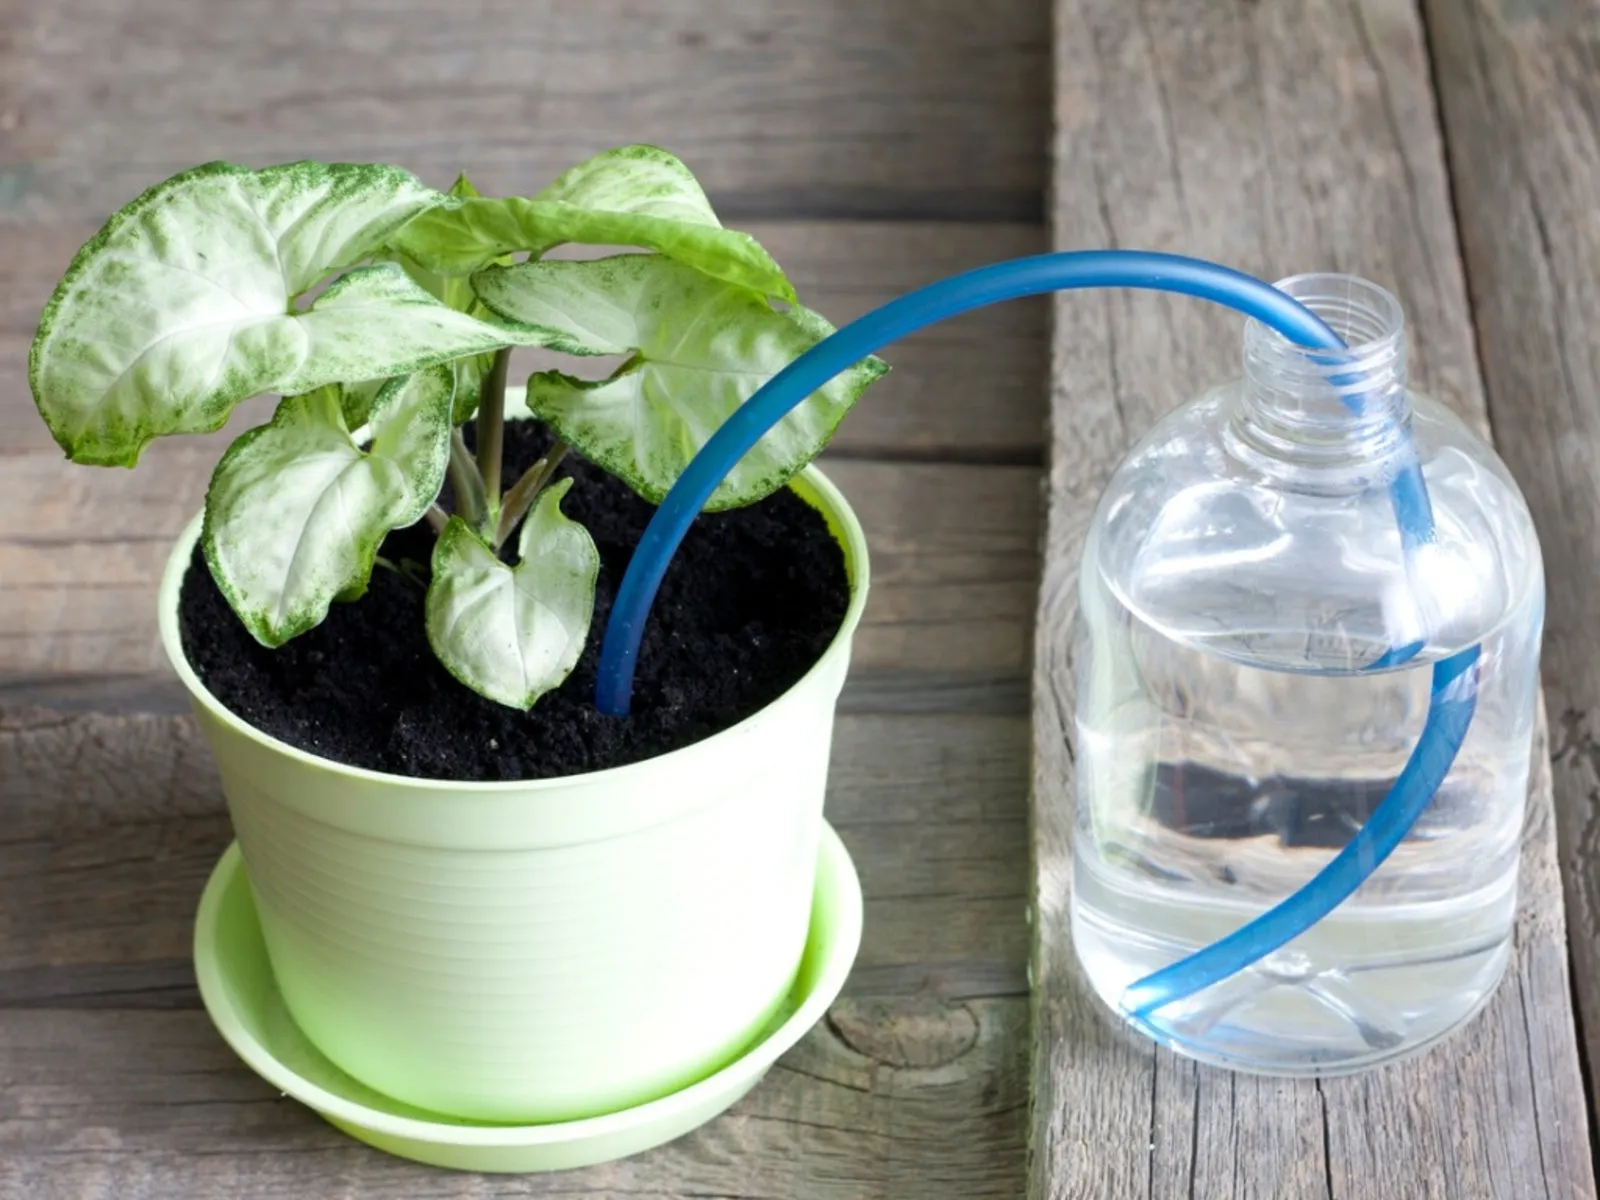
A self-watering planter works by storing water in a reservoir and delivering it slowly to the roots through a wicking system. This prevents overwatering, reduces water waste, and promotes healthier plant growth. The best part? You can make one at home using simple, affordable materials. In this guide by myplantsvalley.com, you’ll discover an easy, eco-friendly, and cost-effective way to build your own self-watering planter and enjoy greener, happier plants with less effort.
What Is a Self-Watering Planter?
A self-watering planter is like having a personal assistant for your plants. Instead of watering daily, this system uses a built-in water reservoir that supplies moisture to the soil as needed. The plant draws water through capillary action, ensuring consistent hydration. This setup is perfect for beginners and seasoned gardeners alike, especially those who sometimes forget watering schedules.
Why Gardeners Love Self-Watering Systems
Gardeners love self-watering planters because they remove guesswork. No more soggy soil or bone-dry roots. These planters maintain balance, helping plants grow stronger, greener, and happier with minimal supervision.
Benefits of a DIY Self-Watering Planter
Saves Water and Time
DIY self-watering planters are efficient. They reduce water waste by delivering moisture directly to the roots. Instead of watering every day, you may only need to refill the reservoir once a week.
Healthier Plants with Less Effort
Consistent moisture encourages deeper root growth and prevents stress. Think of it like a steady drip instead of a sudden flood.
Ideal for Busy Plant Lovers
If your schedule is packed, this system keeps your plants thriving even when life gets hectic.
Materials Needed to Make a Self-Watering Planter
Basic Household Items
You’ll need:
- Two plastic containers or bottles
- Cotton rope or fabric strip (wick)
- Potting soil
- A small knife or drill
Optional Tools for Better Results
- Measuring tape
- Marker
- Scissors
Most of these items are probably already in your home, making this an affordable gardening project.
Understanding How a Self-Watering Planter Works
The Science Behind Wicking
Wicking uses capillary action to move water upward from the reservoir into the soil. The wick acts like a bridge, pulling water slowly and steadily.
Water Reservoir Explained
The reservoir stores water separately, preventing root rot while keeping soil evenly moist.
Step-by-Step Guide: How to Make a Self-Watering Planter
Step 1 – Choose the Right Container
Select a sturdy container that can hold both soil and water. Recycled bottles work great.
Step 2 – Create the Water Reservoir
Cut the container into two sections. The bottom will hold water; the top will hold soil.
Step 3 – Make Drainage and Wicking Holes
Drill a small hole in the center for the wick and side holes to prevent overflow.
Step 4 – Add Soil and Plant
Thread the wick, fill with soil, and plant your seedling.
Step 5 – Fill the Water Chamber
Pour water into the bottom section and place the top container inside.
Best Plants for Self-Watering Planters
Herbs That Thrive
Basil, mint, parsley, and cilantro love consistent moisture.
Vegetables and Indoor Plants
Tomatoes, peppers, pothos, spider plants, and peace lilies grow beautifully in self-watering planters.
Common Mistakes to Avoid
Overfilling the Reservoir
Too much water can drown roots. Always leave air space.
Using the Wrong Soil Mix
Avoid heavy garden soil. Use light, well-draining potting mix.
Indoor vs Outdoor Self-Watering Planters
Key Differences
Indoor planters need controlled watering, while outdoor ones must handle rain.
Placement Tips
Keep indoor planters near light sources and outdoor ones in shaded areas when possible.
Maintenance Tips for Long-Lasting Use
Cleaning the Planter
Clean the reservoir monthly to prevent algae buildup.
Checking Water Levels
Check weekly and refill as needed.
Eco-Friendly Gardening with Self-Watering Planters
Reducing Water Waste
These planters use up to 50% less water than traditional pots.
Sustainable Gardening Practices
Reusing containers makes this method even greener.
Why MyPlantsValley.com Recommends Self-Watering Planters
Smart Gardening for Modern Homes
MyPlantsValley.com promotes practical, eco-friendly gardening solutions that fit modern lifestyles and small spaces.
Conclusion
Learning how to make a self-watering planter is a game-changer for any plant lover. It saves time, conserves water, and keeps plants healthy with minimal effort. Whether you’re gardening indoors or outdoors, this simple DIY solution brings big rewards.
FAQs
1. How often should I refill a self-watering planter?
Usually once every 5–7 days, depending on plant type and weather.
2. Can I use self-watering planters for vegetables?
Yes, many vegetables thrive with consistent moisture.
3. Do self-watering planters cause root rot?
Not if built correctly with proper drainage.
4. What wick material works best?
Cotton rope or microfiber fabric works well.
5. Are self-watering planters good for beginners?
Absolutely. They simplify plant care and reduce mistakes.
Please don’t forget to leave a review.
Explore more by joining me on Patreon
You have not enough Humanizer words left. Upgrade your Surfer plan.
Continue writing please Please write in English language.
Created with AIPRM Prompt “Human Written |100% Unique |SEO Optimised Article”
For better results, please try Article Writer GPT
Get My Prompt Library
Advanced Tips to Improve Your Self-Watering Planter
Use the Right Soil Mix for Best Results
One of the most overlooked secrets of a successful self-watering planter is soil choice. Regular garden soil becomes compact and blocks water flow, which defeats the whole purpose. Instead, use a lightweight potting mix with ingredients like coco peat, perlite, or vermiculite. These materials improve aeration and allow water to move upward smoothly through the wick. Think of soil as a sponge—if it’s too dense, it can’t absorb evenly. A well-balanced mix keeps roots oxygenated while maintaining steady moisture. For myplantsvalley.com readers, this step alone can dramatically improve plant growth and reduce common issues like yellow leaves or fungal problems.
How to Customize a Self-Watering Planter for Different Plants
Adjusting Water Flow Based on Plant Needs
Not all plants drink water at the same speed. Succulents prefer less moisture, while herbs and leafy greens crave consistency. You can control water flow by changing the thickness or number of wicks. More wicks mean more water movement; fewer wicks slow things down. This customization makes your DIY self-watering planter flexible and adaptable. It’s like adjusting the tap instead of flooding the whole garden. This method is especially helpful for indoor gardeners managing multiple plant types in limited space.
Troubleshooting Common Self-Watering Planter Problems
Why Is My Soil Staying Too Wet?
If your soil feels constantly soggy, the issue is usually poor drainage or too many wicks. Reduce the wick size and check overflow holes. Also, ensure the container isn’t sitting directly in standing water.
Why Is My Plant Still Dry?
Dry soil usually means the wick isn’t touching water or the soil is too compact. Reposition the wick and loosen the soil gently to restore water movement.
Seasonal Care for Self-Watering Planters
Summer vs Winter Adjustments
In summer, plants drink more water, so you’ll refill reservoirs more often. In winter, growth slows down, and water needs drop. Reduce refilling frequency to prevent root rot. Seasonal adjustment is key to long-term plant health, especially for indoor planters.
Self-Watering Planters for Small Spaces and Apartments
Perfect Solution for Urban Gardening
Living in an apartment doesn’t mean giving up gardening. Self-watering planters are compact, clean, and ideal for balconies, windowsills, and kitchens. They prevent water spills and reduce daily maintenance. For urban gardeners visiting myplantsvalley.com, this system is a smart way to grow herbs, flowers, and greens without a backyard.
SEO Gardening Tip: Why Self-Watering Planters Are Trending
Growing Demand for Low-Maintenance Gardening
Search trends show increasing interest in “how to make a self watering planter” because people want smart, sustainable solutions. By adopting this method, gardeners align with eco-friendly practices while saving time and money. This makes self-watering planters a future-proof gardening choice.
Final Conclusion
A self-watering planter is more than a DIY project—it’s a lifestyle upgrade for plant lovers. It simplifies watering, saves resources, and keeps plants healthy with minimal effort. Whether you’re a beginner or a seasoned gardener, learning how to make a self-watering planter empowers you to grow smarter, not harder. With the right materials, soil, and care, your plants will thrive consistently. At myplantsvalley.com, smart gardening starts with simple, sustainable ideas like this.
Additional FAQs
6. Can I use a self-watering planter for flowering plants?
Yes, most flowering plants love consistent moisture and bloom better.
7. How long does a DIY self-watering planter last?
With proper cleaning, it can last several years.
8. Is plastic safe for self-watering planters?
Yes, food-grade or thick plastic containers are safe and durable.
9. Can kids help make a self-watering planter?
Absolutely. It’s a great educational gardening activity.
10. Do self-watering planters attract mosquitoes?
No, if the reservoir is covered and sealed properly.