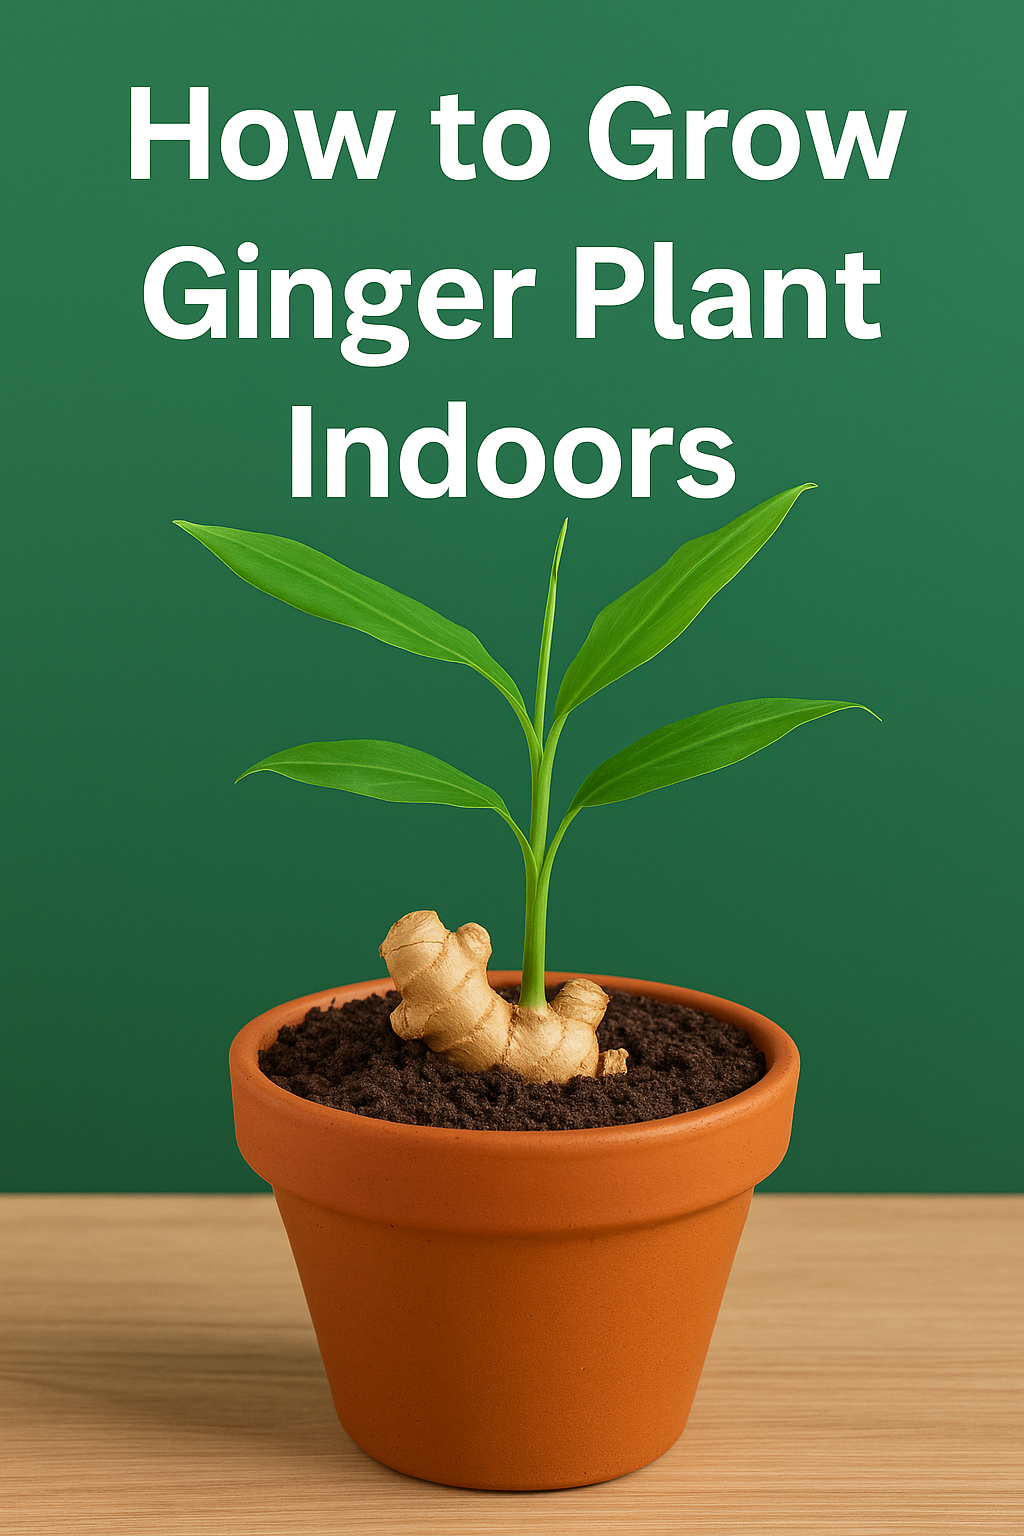
Ever dreamed of plucking fresh ginger right from your kitchen windowsill? Good news—you absolutely can! Growing ginger indoors is not only possible, it’s surprisingly easy, even if you don’t have a green thumb. Whether you’re short on garden space, living in a cold climate, or simply want year-round access to this spicy super-root, indoor ginger growing is the perfect solution.
Ginger, known for its bold flavor and powerful health benefits, thrives in warm, humid environments—conditions you can easily recreate at home. With just a bit of planning, the right container, and a healthy rhizome, you can transform a simple corner of your home into a thriving mini garden. Plus, there’s something incredibly satisfying about using your homegrown ginger in tea, cooking, or natural remedies.
In this step-by-step guide, we’ll walk you through everything—from choosing the right ginger root to harvesting your first crop. So grab your pot, prep your soil, and let’s bring the spice indoors!
What Makes Ginger a Great Indoor Plant?
Ginger isn’t just a zesty addition to your favorite recipes—it’s also surprisingly well-suited for indoor growing. Unlike many outdoor plants that need pollination or full sunlight, ginger thrives in warm, humid environments with indirect light, making it a perfect fit for your windowsill or balcony.
It’s a low-maintenance, tropical root plant that grows from rhizomes, not seeds, which means you can practically start from a store-bought ginger root. Plus, it doesn’t grow too tall, so it won’t overtake your living space. If you’re into kitchen gardening, growing ginger indoors is an exciting way to add fresh, organic spice to your meals while adding greenery to your home.
Benefits of Growing Ginger Indoors
Growing ginger indoors isn’t just fun—it has real benefits too:
- Fresh Supply: You’ll always have organic ginger on hand, free from chemicals or pesticides.
- Space-Saving: Indoor gardening doesn’t need a huge yard. A pot on your kitchen counter works.
- Medicinal Uses: Ginger is known for its anti-inflammatory and digestion-boosting properties.
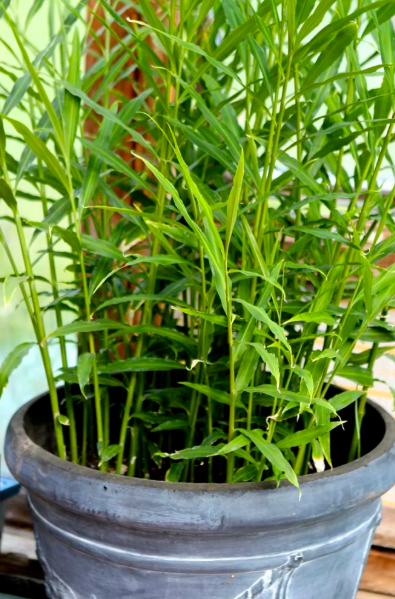
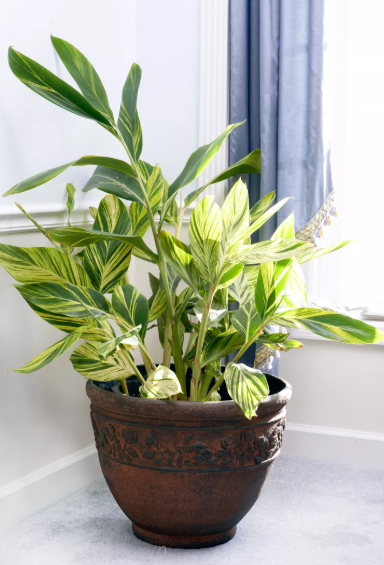
- Aesthetic Appeal: Its lush, green leaves can beautify your indoor garden.
Best Time to Grow Ginger Indoors
The best time to start growing ginger indoors is late winter to early spring. That’s when the plant can enjoy consistent warmth and begin sprouting in time for spring and summer growth. Since you control the environment indoors, you can technically grow it year-round—just ensure proper warmth, moisture, and indirect light.
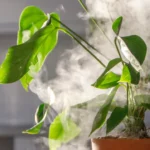
If your home gets cold in winter, place the pot near a heating source but not directly on it. Ginger loves warmth but hates dry heat. Humidifiers or pebble trays help replicate its tropical climate.
Choosing the Right Ginger Rhizome
The key to a thriving ginger plant is choosing a plump, healthy rhizome. A rhizome is the thick, knobby “root” of the ginger you usually buy. Look for pieces that are:
- Firm and not shriveled
- Free of mold or decay
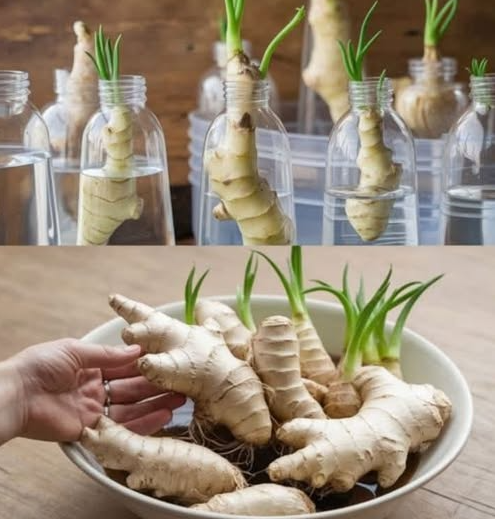
- Full of “eyes” or small growth buds
Organic vs Store-Bought Ginger Roots
Store-bought ginger often contains growth inhibitors to prevent sprouting. If using grocery ginger, soak it in water for 24 hours before planting. But your best bet? Buy organic ginger from a nursery or health store. It sprouts faster and grows healthier because it hasn’t been chemically treated.
Preparing Ginger for Planting
Before planting, you need to prep the rhizome correctly:
- Soak the rhizome in warm water for 24–48 hours. This helps remove any inhibitors and hydrates the root.
- Break the rhizome into smaller pieces (each at least 1–2 inches wide) ensuring each one has at least one “eye.”
- Let the pieces air-dry for a few hours. This helps avoid rot once in the soil.
Choosing the Ideal Pot or Container
Ginger grows horizontally, so the right pot makes a big difference. Choose a wide, shallow container that is at least 12 inches deep. More width equals more room for the rhizomes to spread.
Size and Drainage Requirements
- Use containers with multiple drainage holes to prevent waterlogging.
- Terracotta pots are great for breathability, but plastic holds moisture better.
- Avoid tiny pots—they’ll restrict root expansion, stunting your plant.
Soil Requirements for Indoor Ginger
Ginger thrives in rich, well-draining soil. Avoid heavy, clay-based soils that hold too much water.
Here’s the perfect soil mix:
- 2 parts potting soil
- 1 part compost or well-rotted manure
- 1 part sand or perlite for drainage
Make sure the soil is loose and aerated so that the rhizomes can spread easily. Keep the pH slightly acidic to neutral (5.5–6.5).
How to Plant Ginger Indoors
Plant the prepped rhizome pieces with the buds facing upward, about 1–2 inches below the surface of the soil. Water the soil lightly right after planting.
Follow these planting tips:
- Space the pieces 3–4 inches apart.
- Keep the container in a warm, indirect sunlight area.
- Avoid placing it under direct harsh sunlight.
Light and Temperature Needs
Ginger prefers bright, indirect sunlight. A windowsill facing east or west is ideal. Too much direct sun will scorch the leaves; too little will stunt growth.
Temperature guidelines:
- Optimal: 75°F–85°F (24°C–29°C)
- Avoid dropping below 60°F (15°C)
How Often to Water Ginger
Ginger likes consistent moisture but hates soggy soil. Here’s how to water it right:
- Water when the top 1 inch of soil feels dry
- Use a spray bottle to mist the leaves and maintain humidity
- Cut back on watering in winter when growth slows
Overwatering leads to root rot, so always feel the soil before watering again.
Fertilizing Ginger Plants
Feed your indoor ginger with a balanced liquid fertilizer (10-10-10) every 3–4 weeks during the growing season. For more organic options, try:
- Compost tea
- Fish emulsion
- Seaweed extract
Once it begins to mature (after 4–5 months), switch to a low-nitrogen fertilizer to encourage rhizome development over leaf growth.
How Long Does Ginger Take to Grow Indoors?
Ginger is a slow grower. It typically takes 8 to 10 months to fully mature. However, you can start harvesting baby ginger after 4–6 months if you’re eager.
Here’s a general timeline:
- Month 1–2: Sprouting and shoot development
- Month 3–6: Leaf and root expansion
- Month 6+: Rhizome thickening
- Month 8–10: Ready for full harvest
Patience pays off when it comes to ginger!
Common Problems and Solutions
While relatively pest-free, indoor ginger may face a few issues:
- Yellow leaves: Likely due to overwatering or poor drainage
- Slow growth: Could be due to cold temps or low light
- Mold on soil: Remove top layer and improve airflow
- No sprouting: Check if the ginger was treated or too old
Solution? Adjust care based on the symptoms and avoid extremes in temperature or moisture.
Harvesting Indoor Ginger
When the leaves begin to yellow and dry, it’s time to harvest. Gently pull the plant out and brush off the soil. Break off the amount you need and replant the rest for continued growth.
Harvesting tips:
- Use clean hands or tools
- Harvest from the edges first
- Don’t wait too long or the rhizome might get woody
Fresh ginger smells heavenly and tastes even better than store-bought.
How to Store Freshly Harvested Ginger
Store your harvested ginger in one of these ways:
- Refrigerator: Wrap in paper towel and place in a ziplock bag for up to 3 weeks
- Freezer: Peel and freeze whole or in slices
- Dry it: For powdered ginger, slice and air dry completely before grinding
Label and date everything so you always know how fresh it is.
Bonus Tips for Thriving Indoor Ginger Plants
Want to go pro with your ginger gardening? Here are a few advanced tips:
- Use a humidity tray or pebble dish under the pot
- Rotate the pot weekly for even light exposure
- Mulch the top of the soil with coconut coir or straw
- Repot annually to give it more room to grow
Remember: Happy ginger equals spicy harvests!
Conclusion
Growing ginger indoors is one of the easiest and most rewarding gardening projects you can try. It’s beginner-friendly, requires minimal space, and adds a tropical vibe to your home. From soaking the rhizome to harvesting fresh, aromatic ginger, the journey is both therapeutic and tasty. Whether you use it for cooking, tea, or natural remedies, you’ll love having this powerful root right at your fingertips.
FAQs
Q1: Can I grow ginger indoors all year round?
Yes! As long as you provide the right warmth, humidity, and indirect light, ginger can be grown indoors year-round.
Q2: How do I know when my indoor ginger is ready to harvest?
When the leaves turn yellow and begin to dry out—usually around 8–10 months—it’s time to harvest.
Q3: Can I grow ginger from store-bought ginger?
Yes, but soak it for 24–48 hours to remove any growth inhibitors first. Organic ginger is recommended.
Q4: Why isn’t my ginger sprouting?
It might be due to low temperatures, old rhizomes, or treated roots. Make sure it has growth buds (“eyes”).
Q5: Can I replant the same ginger after harvesting?
Absolutely! Just break off a healthy piece with a bud and plant it again in fresh soil.