
Keeping your pruning tools clean is more than just a chore—it’s an essential practice for any gardener or horticulturist who wants healthy plants, efficient cutting, and a longer tool lifespan. Over time, pruning shears, loppers, and saws accumulate sap, dirt, fungal spores, and rust, which can hinder performance and spread disease from one plant to another.
Imagine slicing through a rose stem only to have the blade stick, tear, or even slip—frustrating, dangerous, and damaging for both you and the plant. Regular cleaning ensures sharp, precise cuts that heal quickly, reducing the risk of pests and pathogens entering your plants’ vascular systems. Plus, well-maintained tools last far longer, saving you money on replacements. In short, a quick cleaning session after each use can mean the difference between a thriving garden and one riddled with problems.
Common Contaminants on Pruning Tools
Pruning tools face a barrage of contaminants in the garden. First, there’s plant sap—a sticky substance that clogs blade surfaces and pivot points. Left unchecked, sap turns brown and gummy, making it nearly impossible to open and close tools smoothly. Then comes soil and organic debris: fine soil particles grind against metal, accelerating wear and dulling edges.
Fungal spores and bacterial cells hitch rides on blades, jumping from diseased branches to healthy ones, potentially triggering infections like blight, canker, and mildew. Finally, moisture and oxygen conspire to produce rust, especially on carbon-steel blades that aren’t stainless. Rust not only weakens metal structurally but also creates pits that further trap dirt and pathogens. Recognizing these contaminants is the first step to choosing the right cleaning approach.
Essential Safety Precautions Before Cleaning
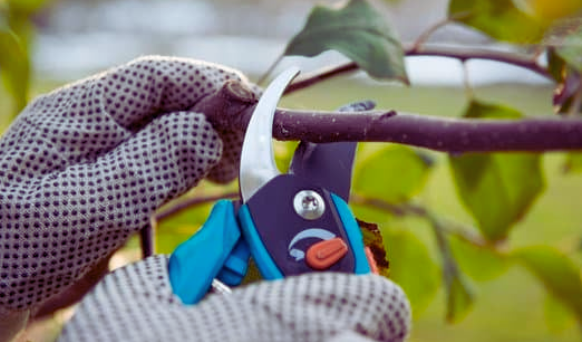
Before diving into cleaning, always prioritize safety. First, wear thick, cut-resistant gloves—garden gloves alone often aren’t enough when you’re handling sharp, pointed tools and chemical disinfectants. Eye protection is also crucial, especially if you’re using sprays or handling splintered brush, to prevent particles from entering your eyes. Lay out a towel or rubber mat on your workbench to catch drips and debris, reducing slip hazards.
Ensure good ventilation if you’ll be working with chemical cleaners like bleach solutions or commercial rust removers; inhaling fumes can irritate your respiratory tract. Finally, disengage any locking mechanisms and fully open your shears or pruners to expose all surfaces. Confirm that blades are cool to the touch—warm metal may be coated in barely visible sap that splatters when disturbed.
Preparing Your Workspace
Choosing a Well-Ventilated Area
A clean workspace is critical—not only for your safety but also for efficient cleaning. Opt for a shaded outdoor spot or a garage with open doors and windows to ensure fresh air circulation. This prevents buildup of harmful fumes when using disinfectants or rust removers and minimizes inhalation risks. Lay down a large tarp or old sheet to catch debris, making cleanup afterward a breeze. If you’re indoors, consider placing a small fan nearby to direct solvent vapors away from your face.
Gathering Necessary Supplies
Having all your materials within arm’s reach prevents interruptions and reduces the risk of cross-contamination. You’ll need:
- Mild dish soap or biodegradable cleaner
- Bucket or basin for soapy water soak
- Wire brush or steel wool for rust
- Plastic scraper or old credit card for sap removal
- Rags or scrubbing pads
- Disinfectant (70% isopropyl alcohol or a 10% bleach solution)
- Sharpening stone or file
- Lubricant (light machine oil or specialized tool oil)
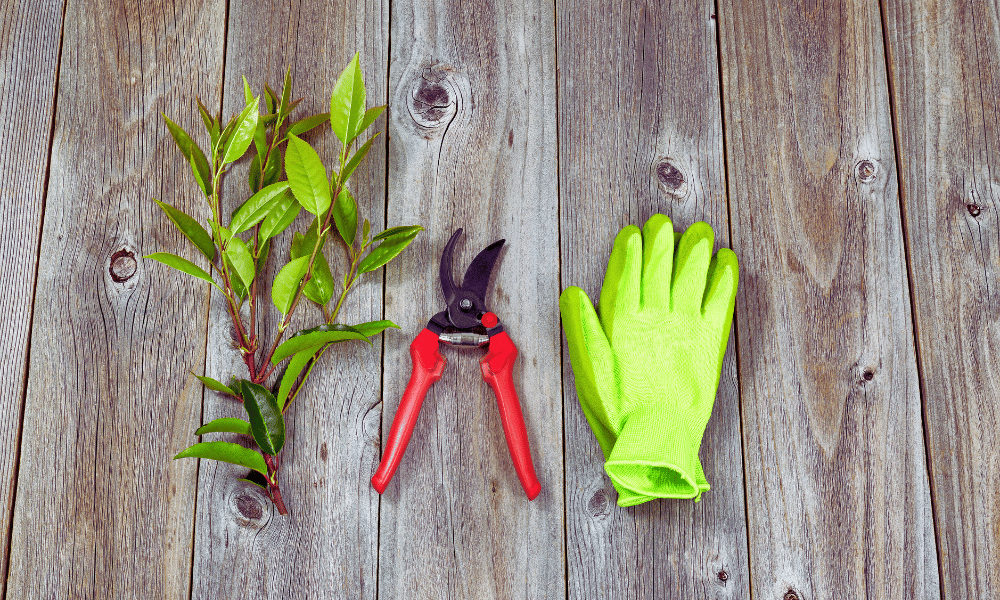
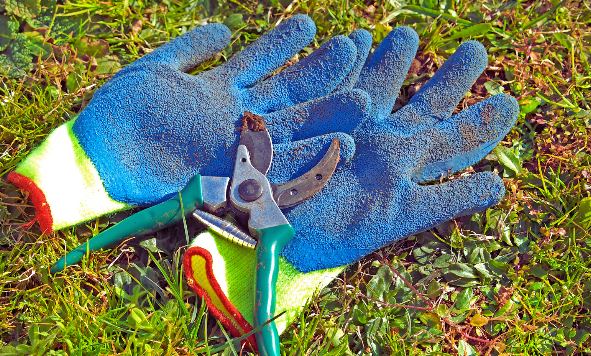
- Cut-resistant gloves and safety glasses
With everything organized, you’ll move seamlessly from one cleaning stage to the next without hunting for supplies.
Initial Tool Inspection
Checking for Rust and Corrosion
Start by visually inspecting every metal surface under good lighting. Rust appears as reddish-brown flakes or pitting on blades and pivot points. Light surface rust can often be removed with a wire brush; deeper corrosion may require a chemical rust remover. If rust has etched deeply into the metal, consider whether professional resurfacing or replacement is more cost-effective.
Identifying Damaged or Loose Parts
Next, examine handles, grips, springs, and bolts. Wooden handles may have splinters or cracks that could worsen if left unaddressed. Plastic grips can become brittle over time and crack under pressure. Tighten any loose nuts or pivot bolts—but not so tight that the blades bind. Replace missing washers or springs to maintain proper tension and alignment. A well-aligned blade cuts cleanly and reduces strain on your hand.
Conclusion
Maintaining clean, sharp pruning tools is the cornerstone of a healthy, productive garden. By incorporating routine cleaning, disinfection, and sharpening into your gardening schedule, you’ll ensure every cut is precise, plants heal quickly, and pathogens are kept at bay. With the right workspace setup, supplies, and a seasonal maintenance plan, your tools will reward you with years of reliable service and make gardening more enjoyable and efficient.
FAQs
- How often should I clean my pruning tools?
After every use for basic cleaning; deep clean and disinfect at least monthly or when moving between potentially diseased plants. - Can I use household bleach to disinfect my pruners?
Yes—a 10% bleach solution works well, but ensure thorough rinsing and drying afterward to prevent corrosion. - What’s the best way to remove rust without chemicals?
Scrub with steel wool or a wire brush dipped in white vinegar; the acidity helps loosen rust naturally. - Is it necessary to lubricate pruning tools after cleaning?
Absolutely—applying a light machine oil prevents rust, ensures smooth action, and prolongs tool life. - When should I consider professional servicing?
If blades are deeply pitted, handles are cracked beyond repair, or the tool’s alignment can’t be restored at home.